
Our Development Team is constantly working to improve your user experience with EZFacility. Between major updates, we release small but important Features and Fixes that address issues and add useful new options/tools to better help you manage your business with EZFacility.
Sending a carefully choreographed email campaign regarding special events, news items or promotions can lead to increased revenue and a larger client base. However, have you ever sent an email campaign and been left wanting to know more? For example, what email campaigns have I sent, how many clients did each campaign go to or how many of those clients had invalid email addresses? EZFacility’s Development Team has released a brand new feature, Email Campaign History, that focuses on those very questions!
Email Campaign History

In the Administration section of your EZFacility account you will notice a newly organized Email Campaign section that houses our newest feature – Campaign History. Clicking into Campaign History will provide access to the riches that are your previously sent email campaigns! Clicking into Campaign History you will see the last 20 sent email campaigns displayed automatically. However, not only can you just view campaigns, you can also search through previous ones using criteria such as address, subject, and date.

The Campaign History list will show the:
- number of clients attempted
- number of duplicate email addresses
- number of clients with no email address
- number of invalid email addresses
- number of clients the e-mail was sent to
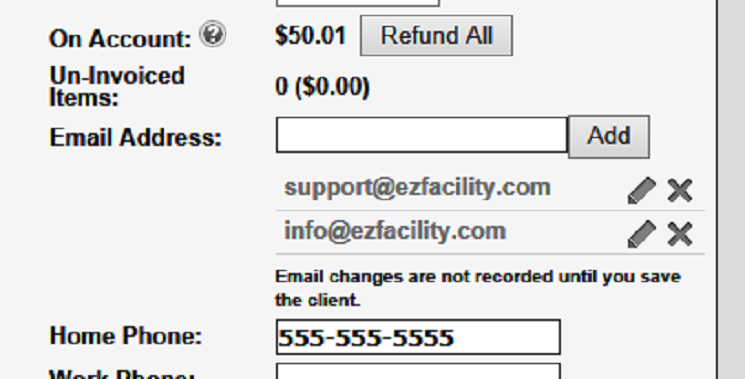
Add Multiple Email Addresses to a Client’s Profile
Understanding the need to have multiple email addresses saved for a single client, we have updated the client page to do just that. To begin saving multiple email addresses, navigate to a client’s personal page and locate the email address section. Entering an email address into the field and clicking the add button will include the address on the client profile. You will want to continue this process for as many emails as applicable. After emails have been added editing them is as simple as selecting the edit pencil to the right of each email address.
**Remember to click the update button on the client profile to save your changes**